UNDERSTANDING THE CONCEPT OF NATURE PHOTOGRAPHY
Light


Light is another element that has important effect on the outcome and artistry of an image. The type of light and color of light are important factors in your image.
Light can come from a point source such as the sun or a flash. This type of light has direction and casts shadows. The direction has a huge impact on your photo.
When the light comes over your shoulder and directly illuminates the subject, it is called front lighting. This type of light renders the most detail in your subject and is commonly used for birds and wildlife.
Light coming slightly from the side adds depth, dimension and texture and can be very effective for landscapes or to create a mood in the image.
Backlighting is the trickiest to deal with in terms of exposure but creates drama and mood and can give very artistic results.
Light is constantly changing throughout the day, and can even change minute to minute in conditions where storms are a factor. You can greatly enhance your pictures by paying attention to the light and how it is (or isn’t) changing.
The time of day also matters. In midday, cloudless conditions, the light is bright and harsh. There are few shadows. Pictures taken at this time of day tend to look flat and lifeless.
Early or late in the day, when the sun is lower in the sky, more of the blue color is scattered by the Earth’s atmosphere and what comes through is more orange / reddish, or “warmer.” Between this warmth in the light and the dramatic shadows you get this time of day, photographers refer to these times as “magic hours.”
Many landscape and nature photographers organize their day so that they are taking pictures early and late, and midday they nap, travel, or scout new locations. It may be a little extra effort to get up and get out early, but it can be well worth it. This has benefits if you like to photograph in popular parks or tourist locations, as these times will be much less crowded than midday!
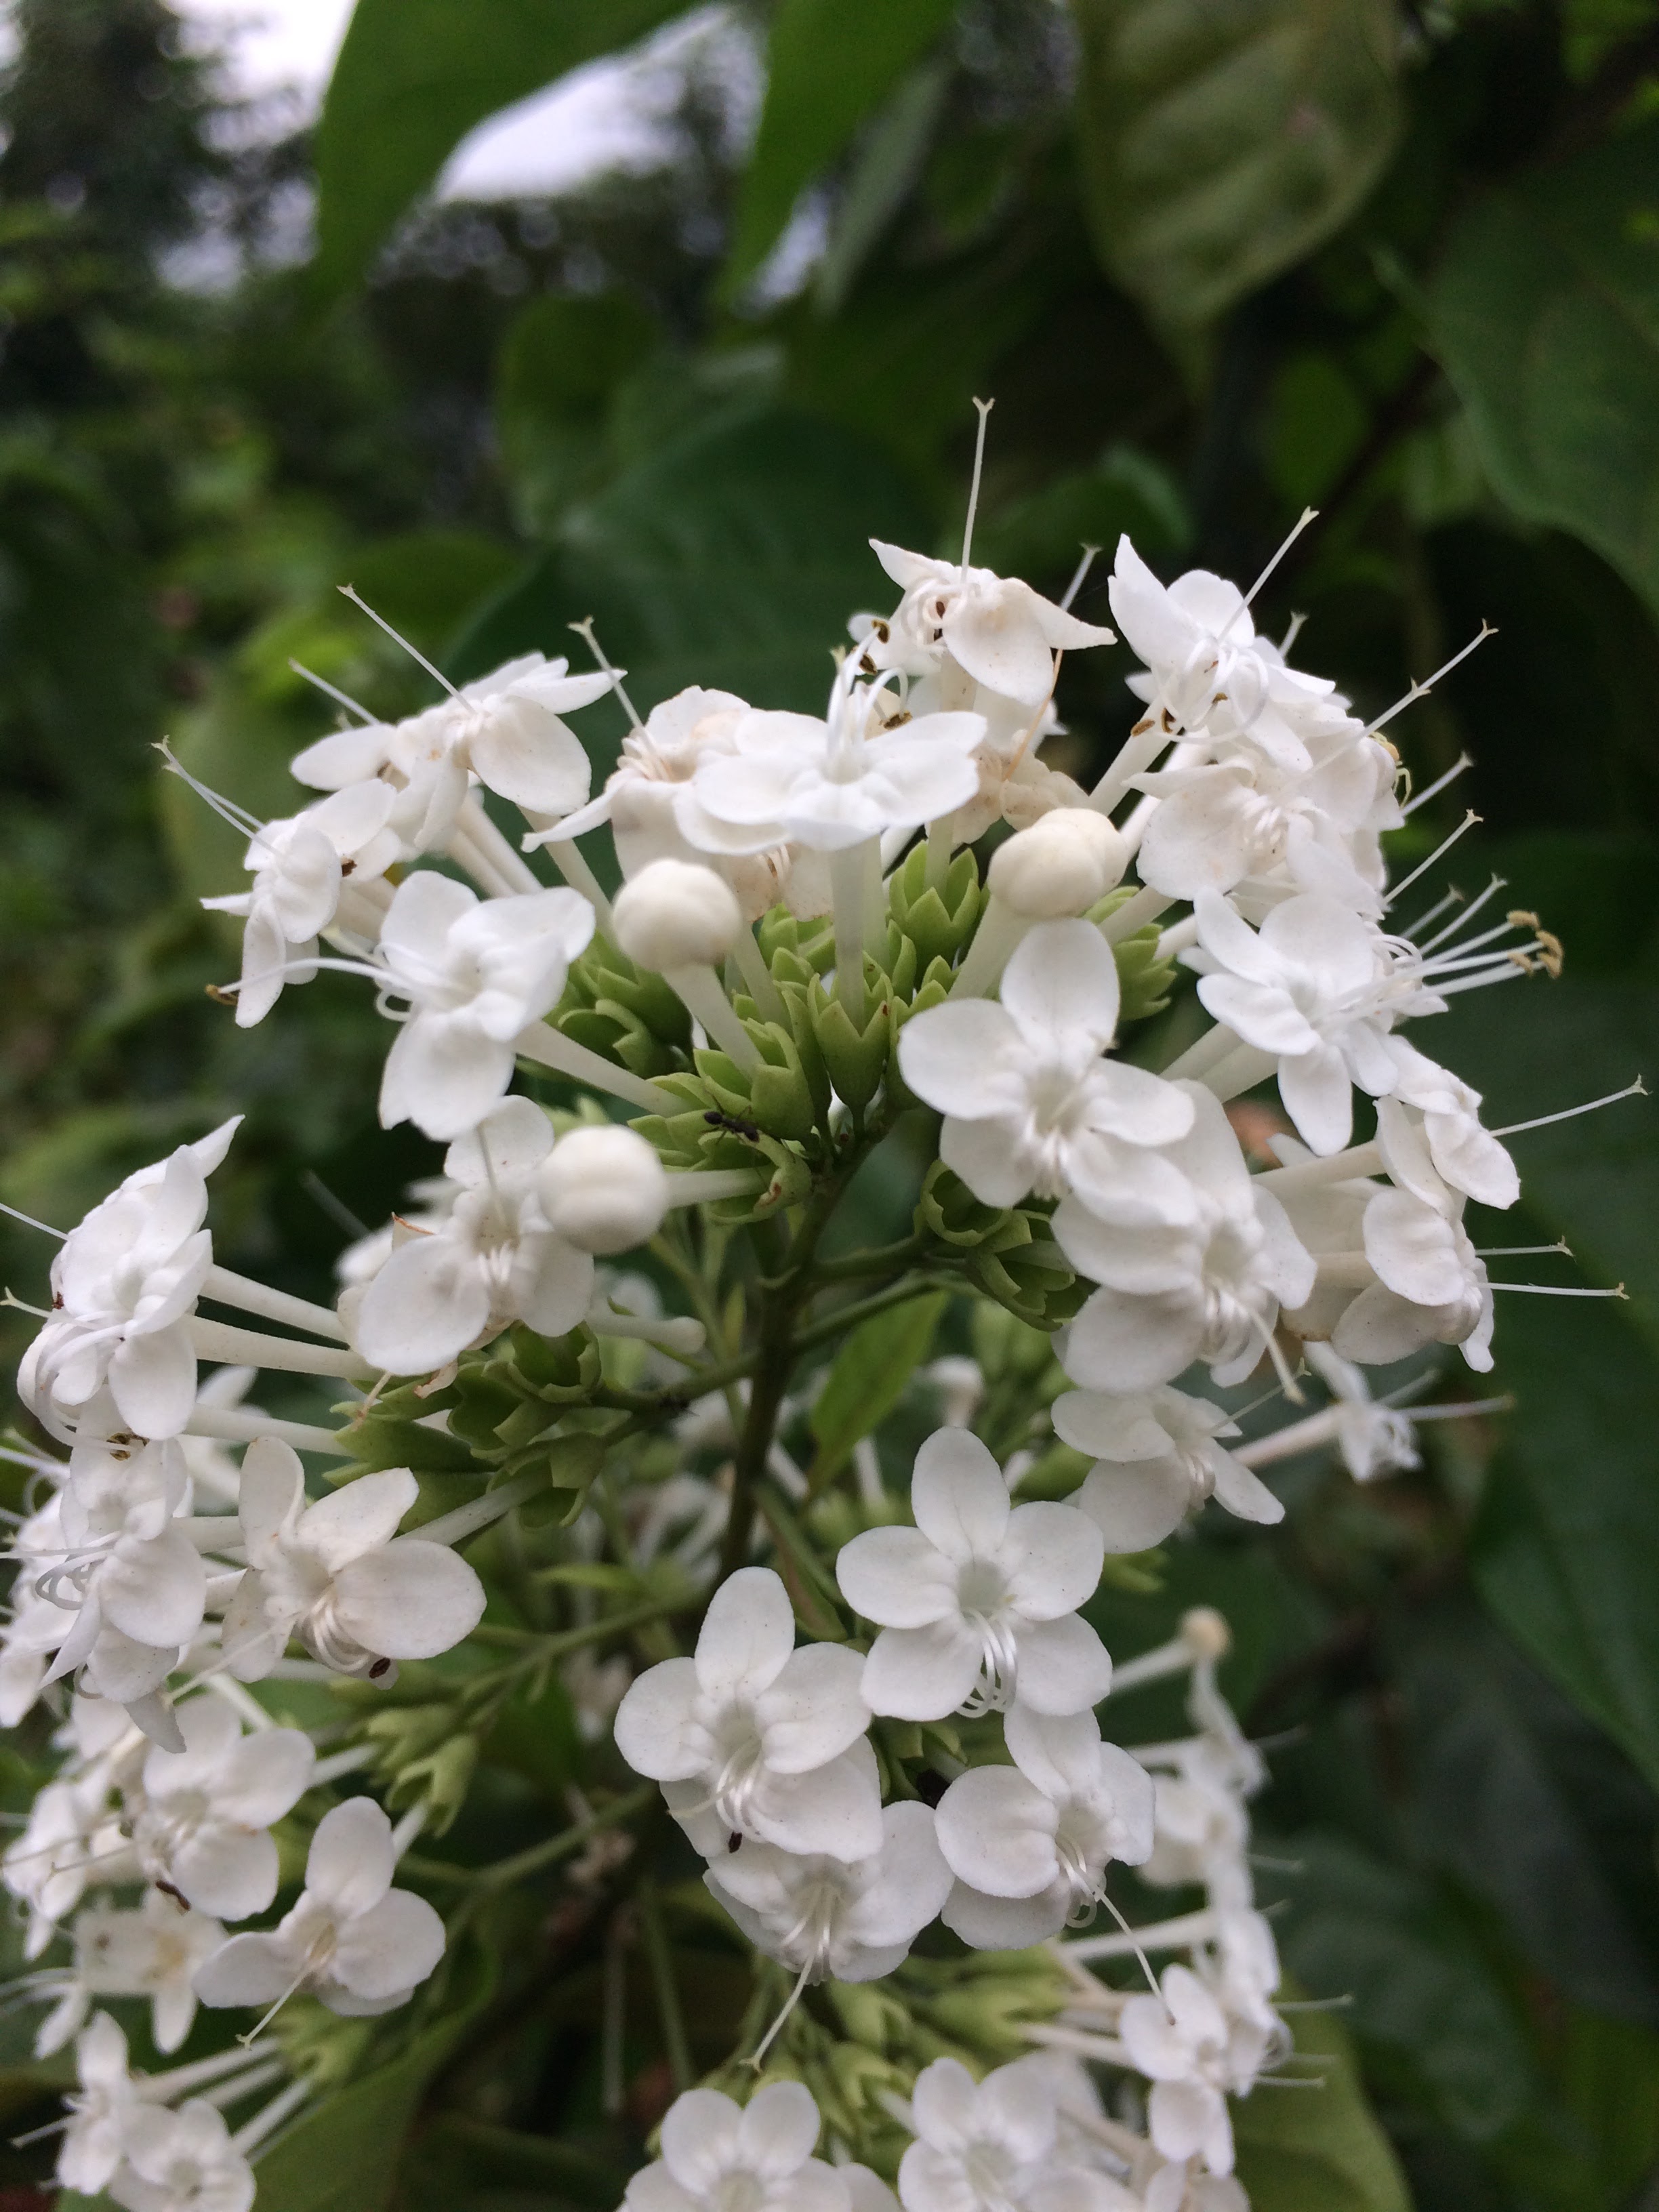
Diffused light, such as that on an overcast day or in open shade, casts no (or minimal) shadows and so has no apparent direction. This type of light is ideal for a situation where you want detail, as nothing is obscured in shadow. Close ups of flowers, leaves and other objects, as well as waterfalls, forest and fall color scenes are a few examples where diffuse light works well.
Composition is VERY important!
Composition is the purposeful arrangement of the elements of a photo. Although it is highly subjective, there are some basic rules of composition that should be learned. These are tried and true methods (some are centuries old painting rules) that will give good results. Once you understand these rules, intentionally breaking them can give dramatic results.
For nature photos, here are some additional considerations for composition.
Focus on the eyes. If your subject has eyes, the viewer will be drawn to the eyes as a center of interest of the image. As such, the eyes should be in crisp focus, even if other parts of the subject are not due to depth of field or motion.
Give room for the subject to”move into.” If your subject is moving, and you place it near the edge of the frame in the direction it is moving, the viewer’s eyes are taken right out of the image. Leave space in front of the subject, not as much behind it. Similarly, with a static subject, leave space in the direction the subject is looking, rather than having it looking out of the frame.
Pay attention to the background.
Avoid white spots. The eye is naturally drawn to the brightest area of an image. If that is not your subject, the eye will be drawn away from the subject to that bright spot. Look for white or bright objects in the background and try to eliminate them by changing your point of view.
Avoid horizons cutting through the subject. When there is an abrupt color transition or horizon line, try to place the subject entirely above or below that line or eliminate the line all together by raising or lowering the camera.
Don’t clip the edges of your subject. If you’re going to crop in on the subject, crop in far enough so that it is intentional, don’t just leave the tip of a leaf or wing out of the frame. If your subject is standing in something where the feet are hidden, include enough space at the bottom to include the “virtual feet.”
Shoot at your subject’s level. This is particularly true for animals or birds, and will achieve a more intimate feeling than shooting down or up at the subject. It may mean getting down on your belly or up on a hillside. Of course the inverse of this can also be used! Dramatic angles, subjects photographed at a different perspective than normally viewed, can be extremely effective.
Watch for unwanted objects in the background creating a merge with the subject. An example might be a tree that appears to be “growing” out of the subject’s head. Try moving slightly, or waiting for the subject to move, to eliminate the merge.


Comments
Post a Comment